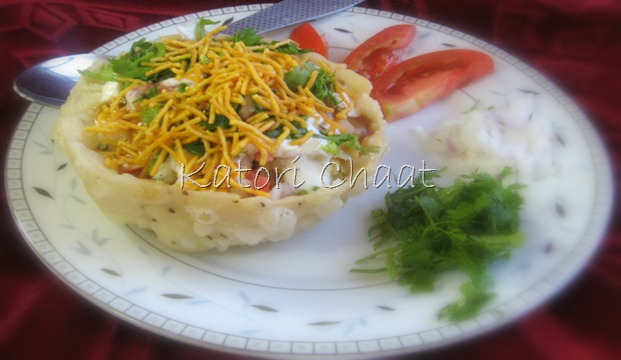
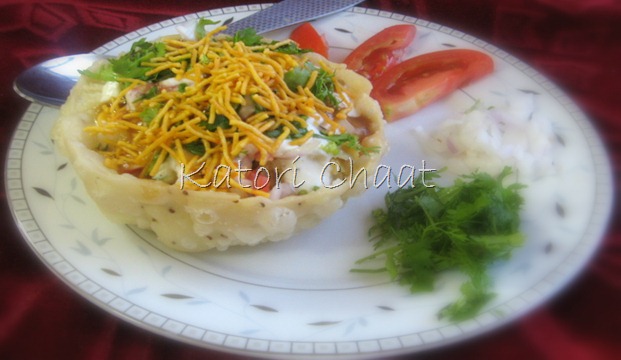
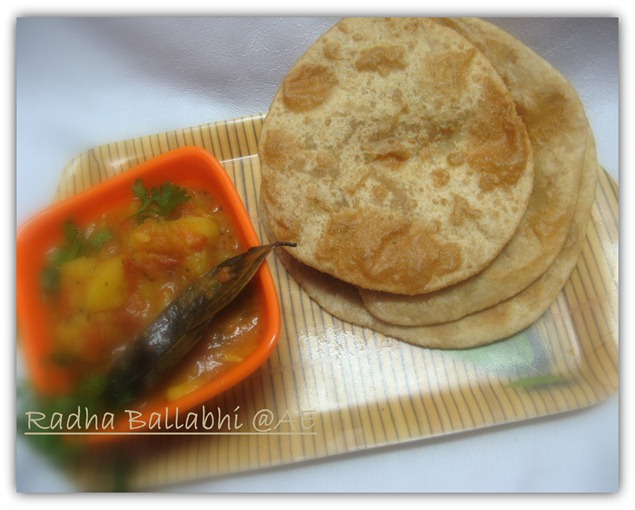
“Katori Chaat” ~ Heavenly taste filled in basket


A bowlful tanginess

What an eternal bliss mother’s love is!! I was thrilled some weeks back (20 days precisely speaking) for her arrival. Overjoyed with my list ready in my mind (so was Romesh) of the foods we would ask her to cook for us. More was the joy of meeting her after a big gap of 6 M and tons of gossips, we were missing together…of relatives, neighbors and more…winks, wink…Devil. And who doesn’t enjoy such fun??

We talked about close friends, distant relatives, “never-so-discussed-far-long-forgotten” people in the past, abt my office and her house hold chores, I sulked, shouted, cribbed over the issue of “never a good job done by domestic help”, I cursed “Bina” – my baby’s caretaker for many of her mistakes she does day by day…seemingly never ending. I cribbed, but she heard me patiently, suggested and expounded. We shopped often…though bought very less stuff that includes 1 damaged sari Sad smile.

Among many such fun things and masti, I did not forget very important things too. I fully exploited the free time I was getting those days due to less project activities (and more over, I am working from home these days). I learnt making her-types “jhol wala alloo”, the right way to prepare “lauki ke kofte”, Bread Pulav (her signature recipe – probably will come later in this space) and many super delicious recipes. One such crunchy-munchy-tangy-very-indian recipe is “KATORI CHAAT”.

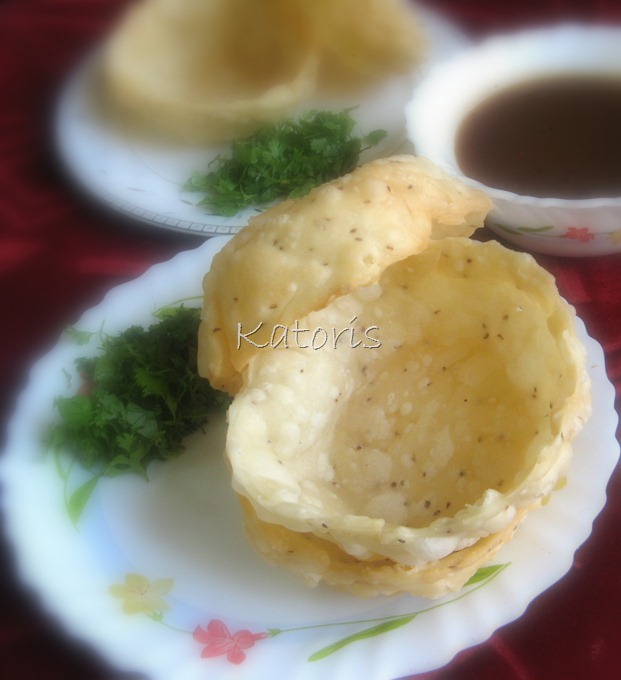
Katori means bowl. We prepare katoris using maida(all purpose flour) dough. And place the spicy, tangy, yummy  chaat mix inside this katori, sounds yum. Isn’t it??The chaat mix contains the stuff like onions, tomatoes, coriander, curd, green chutney, tamarind chutney, spices, chilies and some boiled choley and potatoes too. So,off to the method

Serves : 10 katoris

Ingredients:

For “Katoris” –
    1 cup Maida
    1 tsp. ajwain (carom seeds)
    1 tbsp. oil , more for frying
    water to knead dough
    salt to taste
    4-5 medium size sharp edged steel bowls. ( the bowls should have regular edges, not fancy and curvy)

For “Chaat” –
    1/2 cup overnight soaked and boiled chholey (chickpeas)
    1 boiled potato, peeled and cubed. 
    2 onions, finely chopped
    1 tomato, pulp removed and finely chopped
    1/4 cup any green, all purpose chutney
    1 lemon size tamarind pulp, soaked for an hour
    chaat masala
    2 green chilies, finely chopped
    coriander for garnishing
    salt per taste
    red chili powder
    bhujiya (sev), preferably thin variety.
    1/2 cup curd
    jeera powder
    chili powder
    some sugar for tamarind chutney (according to your required sweetness)
    a pinch Rai for tamarind chutney

Preparation:

For Katoris:

    Take the maida in a bowl, pour oil, salt and ajwain in it.
    Mix until maida takes a crumbly form. If you bind the maida in your fist, it should bind and not fall apart. If not so, add some more oil and repeat the process. (this is called moran). This gives crispness to the katoris.
    Now add water enough to bind the dough, it should not be soft like a regular dough.
    Now make lemon sized balls from the dough. Use dry maida to roll out the balls in to chapattis if required. Meanwhile heat enough oil for frying in a deep kadhai.
    Now take the bowls up side down and place the chapatti onto it.Paste this on chapatti firmly and edges of the chapatti with the edges of bowl and remove the excess dough. Make sure, the maida has been pasted using fingers carefully without any ruptures and some crease in the maida is fine.
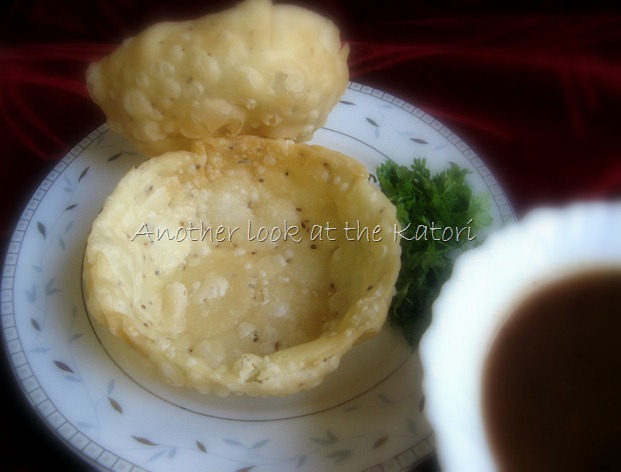
    The oil should be hot now. Place one katori at a time into it. Once the maida starts leaving the edge of the bowl, hold the bowl using a kitchen plier carefully and remove the maida katori into oil and take off the bowl. Pour the oil of bowl into the katori. This fries the inner side of the katori. Now flip the katori up side down for complete frying. Once fried fully, remove from the oil on a paper napkin for absorbing excess oil. Please be extra careful while frying the katoris.
    Follow the same process for all katoris.
    Make sure, you clean the oil properly from the used bowls if you are using them again for preparing katoris.
     Now, store the katoris in a paper lined air tight box, can be used anytime in next 7 days

Katoris-2


Katoris-3

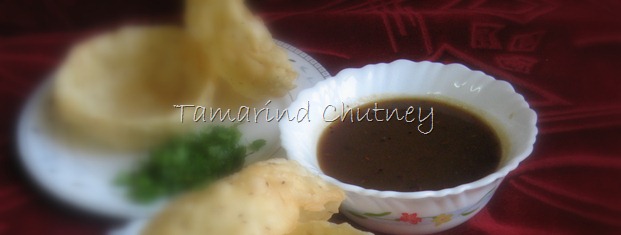
For “Tamarind Chutney” –

    Squeeze the tamarind pulp through a sieve to deseed it.
    Heat oil in a pan. Splutter some Rai.
    Add tamarind pulp and salt, some sugar, red chili powder, jeera powder and mix well.
    Add water for your desired consistency.
    Bring it to boil.

tamarind Chutney

For the “Katori Chaat

    Lightly fry the chholey and potato cubes in some hot oil with salt.
    Now place 2 spoons of chholey-potato mix in a katori. Put some onions, tomatoes & curd.
    Now top with both green and tamarind chutney.
    Sprinkle some green chilies, chili powder, jeera powder, salt & chaat masala.
    Top with bhujiya and coriander.
    Your bowl of delicious chaat is ready, Attack! 

A bowlful tanginess

Notes:

As this is a chaat dish, all the items may vary in quantity according to your choice. Bcuz this is 1 item zara hatke, I am categorizing it in party menu.

Chutneys, curd, chholey and katoris, all are salted. So adding salt in the chaat should be takes care of.

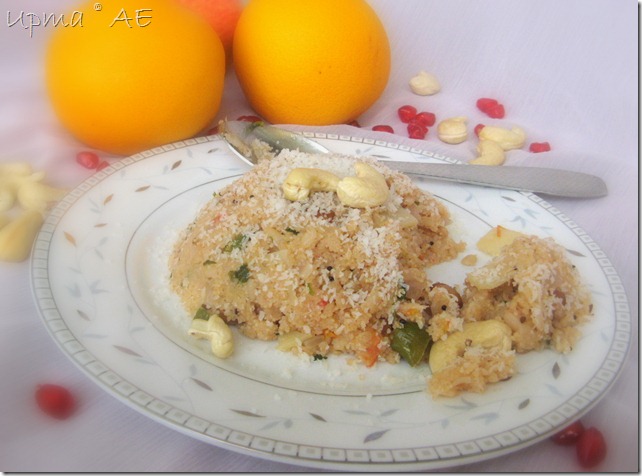
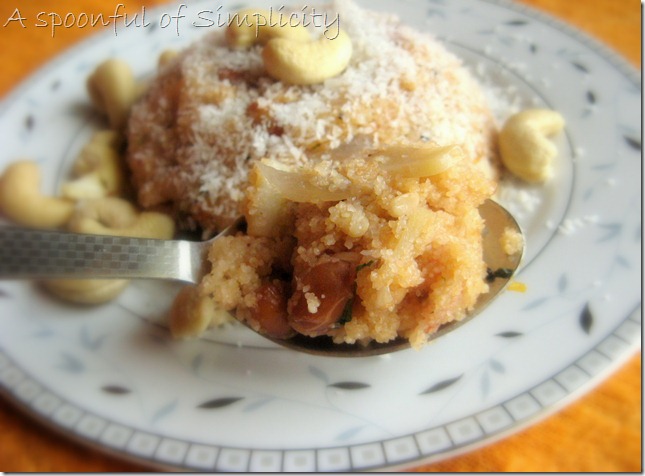
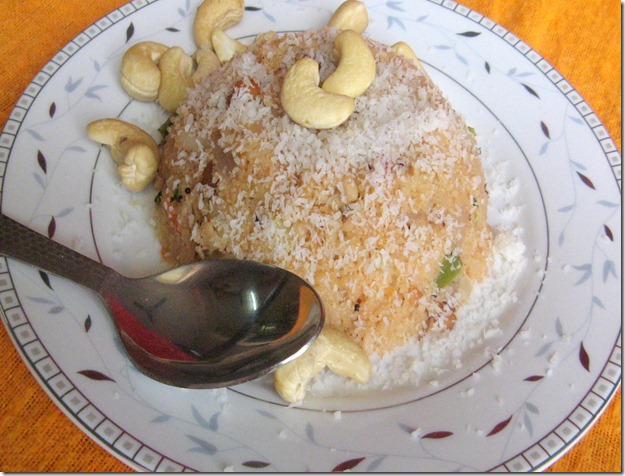
“Upma” ~ simply delightful

upma1


Last few days, I had been coughing break free. Work was ignored, household activities mismanaged and what not due to the sickness. 2 meetings canceled and docs pending to get my attention and many reports to be designed in the coming days. Thank heavens, I am fine now. I have so many things to organize. Now that the new assignment has been started in full throttle, the time crunch is taking a monster shape day by day. So I thought to devote less time in kitchen until I speed up with the work and get on track.

So, I have no options but to depend on simple , fast, comfort foods most of the time. Sticking to what I have planned, I have Upma, Poha & simple no fuss sandwiches, or even simpler, cheese toast only in my list for next few days (or a fortnight, who knows??) for the breakfast.

Upma is just another item, ez and quick, tasty yet healthy. But due to lack of time, I did it simply with the minimal of ingredients and skipped the pain of chopping the variety of vegetables like beans, capsicum, carrot, peas etc.  So, lets cook simple Upma this time.


A spoonful of simplicity

Time: 20 mins

Serves: 3

Ingredients:

  • 1 cup rawa/suji
  • 1 medium onion, chopped
  • 1 medium tomato, chopped
  • 2 green chilies, finely chopped
  • 1 medium potato, quartered and thinly sliced
  • 1.5 tbsp. ghee (upma tastes heavenly if prepared in ghee rather than oil, but you can substitute oil here)
  • a handful of peanuts
  • 2 cups of water
  • 2 tbsp. soaked urad daal
  • chopped coriander for garnish
  • salt to taste
  • 1 tsp. jeera + rai
  • juice of half lemon
  • 1 tsp. coconut powder for garnish (optional)

Preparation:

  • Heat ghee in a kadhai, meanwhile start chopping the onion, tomato and potato as directed in the ingredients list. In parallel, dry roast Suji in another pan until it turns light brown.
  • When ghee is hot, splutter jeera-rai and add peanuts to fry.
  • Once the peanuts are fried, add onions.
  • Once the onions are light brown, add the soaked urad daal.
  • After a min or so, add tomatoes and add salt. (you can add any other masala like turmeric, coriander powder at this point if you wish so)
  • Once the tomatoes wilt, add potatoes and mix well. Cook covered.
  • As soon as the potatoes are half cooked, add the water and bring to boil. During this process, the potato slices will cook completely.
  • Now add lemon juice and stir.
  • Add suji and keep stirring. Once suji absorbs the water, cover and put of low flame for 2-3 minutes.
  • Serve hot topped with coconut powder along with some orange juice.
  • Relish the modest bliss!!

Notes:

Skip potato and lemon if you wish. I usually roast suji in my free time and store it for upma for coming days. That saves much of time.

To speed up the preparation, I usually put oil for heating and meanwhile chop onions. Until onions are fried, I chop tomatoes, while tomatoes are cooking, I chop other requirements. Following such process takes less time to do the food.

upma3

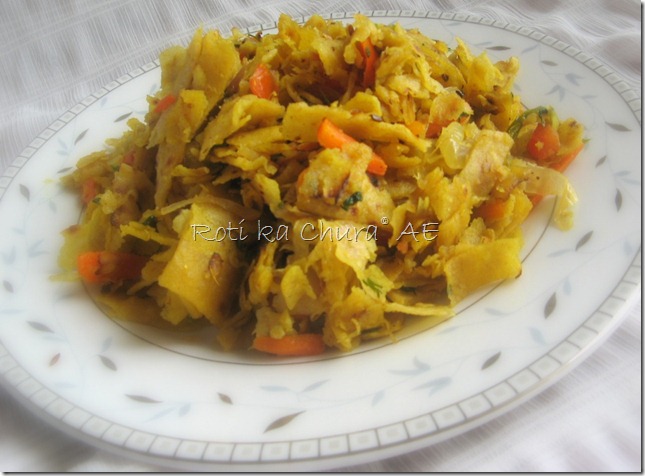
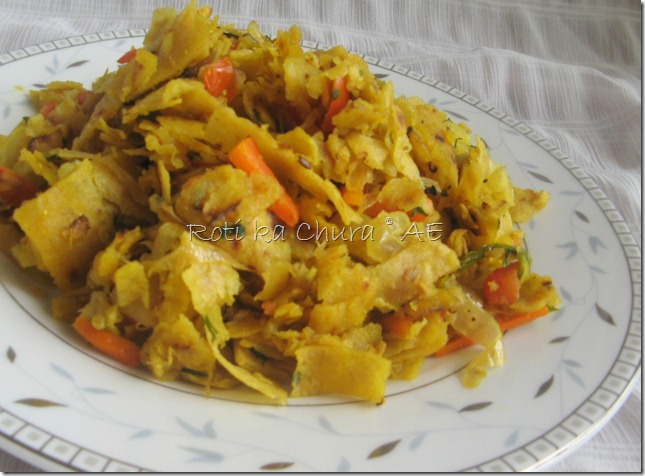
Roti ka chura ~ Fry Chapatti

Chapatti Fry

Mumma used to utilize her left over food nicely, I remember very well. Khichdi rolls similar to bread rolls with last night khichdi or a nice fry to it, rice used to come out into  fried chawal and left over Chapattis used to get transformed into fry roti. I was craving for fry roti since long time. But, I am hardly left with enough chapattis ever to transform them into “Fry Roti”. This time, deliberately, I saved some extra chapattis to serve the purpose. This makes an excellent snacks item or breakfast menu. So, over to the method.

Time: 25  mins

Serves: 3 persons

Ingredients:

    7-8 chapattis
    1 medium onion – sliced length wise
    1 medium tomato – sliced length wise, juice/pulp removed
    1/2 capsicum – sliced length wise
    1/2 carrot – julienned
    a handful of cabbage, sliced finely
    2 green chilies  – slit and halved length wise
    2 Tbsp. oil
    1 tsp. cumin seeds + mustard seeds
    1 tsp. coriander powder
    1/2 tsp. turmeric powder
    finely chopped coriander leaves, for garnish
    salt per taste


Preparation:

    Cut the chapattis in quarters (similar to pizza)
    Then cut them into thin strips or triangles or any shape easier for you(my mom used to just crumble them by hands into small pieces, stripes is easy for me and presentable too)
    Heat oil in a nonstick pan.
    Splutter cumin and mustards seeds.
    Fry onions, when they turn slight brown, add carrot juliennes and cabbage.
    When half cooked, add capsicum and tomatoes.
    When they are done but still retain their shape and crunchiness, add the dry masalas and salt (be careful with the salt amount if your chapattis have salt in them).
    Add chapatti stripes and mix well.
    Sprinkle the chopped coriander leaves.
    Relish in breakfast/snacks with hot ginger tea.


Roti ka Chura2

Notes:

Mumma used to add only onions, tomatoes and potatoes, & at times green peas to zing up the color. You can use peanuts (just like we do in poha).

You can dry the chapattis in oven for some crunchiness.

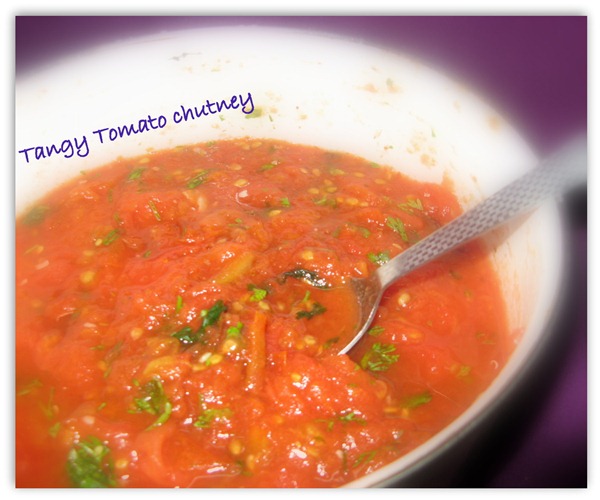
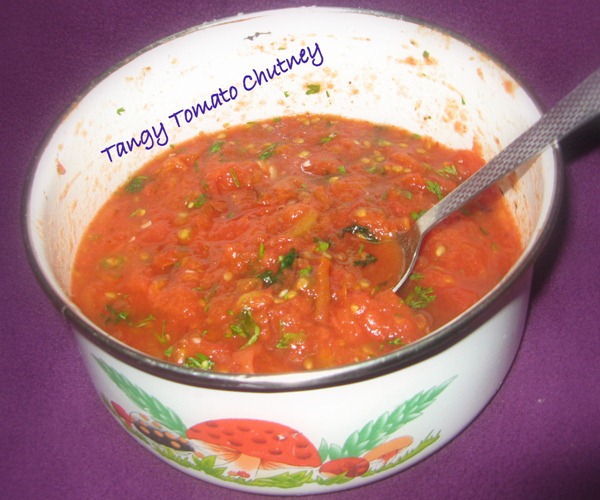
Tangy Tomato Chutney ~ Dadu’s Style

IMG_3492

The practice of passing the culinary art to the descendants is something like willing the rich old tempting property to the family. It should be possessed with care and nurtured with love to preserve it. After all, it is making you richer, richer in knowledge. My  grandfather-in-law used to do this chutney on “chulha” to infuse the smoky flavor of charcoals and wood into the tomatoes. My mother-in-law learnt from him, and is gradually passed to me by my hubby. Trust me, this is the most easy chutney but full of flavor. The smoky  tomatoes, when mashed with some garlic and green hot chopped chilies, the flavor is heavenly. Simply scrumptious!! the tanginess of the tomatoes sufficient to tantalize your taste buds to ask for more.

You must be thinking, what is so special about this chutney?? Tomato chutneys have tomatoes, some salt and pinch sugar, fried with onions and chilies, and seasoned with some more spices etc etc. Big Deal? But, this one is a no-oil chutney. I did see some sparkle in the eyes of anorexic and health watchers. Smile

Because I can’t replicate the chulha flavor, I used to roast tomatoes on the gas flame, until the skin is charred and brown. But I don’t like the after-mess on the burner. So I simply bade adieu to the old process and started taking advantage of the MWO these days and grill the tomatoes. Then crush and mix the dry roasted garlic pods in them. Add some chilies depending on the main dishes for the food and some seasoning of your choice. Finally a touch of greens in the end for beautification.

Time:  15-20 mins.

Ingredients:

    6-7 medium ripped tomatoes
    2 green chilies
    1.5 tsp. salt
    Chopped coriander
    A pinch black salt
     3-4 garlic pod

Preparation:

    Roast the tomatoes 1 by 1 on the gas directly. Watch out the mess on the burner though (don’t curse me for this). Otherwise you can use a flameproof support for tomatoes instead of directly roasting on the flame. Or, you can grill the tomatoes in oven for 12-13 mins. or until you get a little roasted skin. Don’t forget to put a cross on the top of each tomato for this.
    Let cool and then mash them. Be careful for the hot break free splashes of juice.
    Add finely chopped green chilies and coriander.
    Add the salts and mix well.
    Dry roast garlic pods in a tadka pan or any pan available until brown.
    Crush and mix with the chutney.
    Relish with parathas/chilas/sandwich spread or as a side dish.


Tangy Tomato Chutney

Parting Note:

You can add a pinch sugar for that mild sweetness and pep it up with some freshly milled peppercorns . You can do tempering of curry leaves and mustard seeds on the chutney if you like. I like my chutney simple and quick.

Radha Ballabhi ~ Daal stuffed Pooris

Radha-Ballabhi1

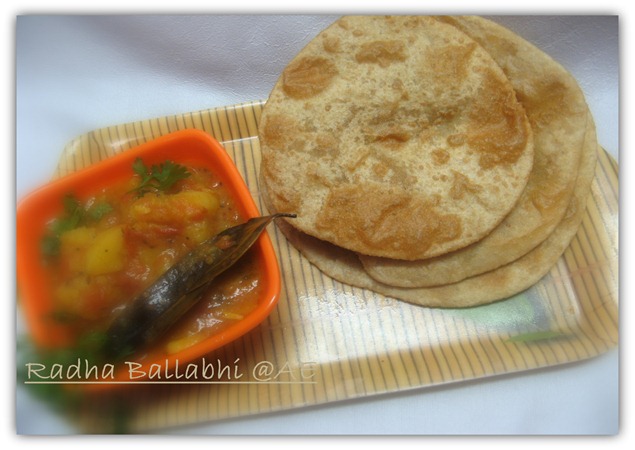
Festivals are the time, when you are free to dig into rich aromatic food. Rakshabandhan is yet another day to celebrate food apart from the sibling-bond. So, I decided to rejoice the day with my family with some special food and nothing is as festive as “Pooris”. But pooris are just so common, and spontaneously, I recalled the Radha Ballabhi made in one of the food shows.

Radha-Ballabhi, a fancy name, sufficient enough to bring the fancy of the delicious food to you. It’s a Bengali dish prepared by stuffing urad daal mix in the pooris made out of maida (all purpose flour). The traditional way to relish it is – with any kind of aloo subjee. I used wheat flour instead of maida and moong daal instead of urad daal purposely as this was going to be Mahi’s 1st Poori experience, so should be easily digestible to her. I had some left over stuffing which I used to roll out parathas for lunch the next day and I personally clubbed it with kheer, strange combination?? but trust me, it really tasted awesome. So, spoil yourselves with Radha Ballabhi in the next festival mood.

Serves: 10-12 Radha Ballabhis depending on the size

Ingredients:

Daal stuffing

      Dehusked Urad daal, soaked for an hour ( I used dehusked moong daal)
      oil for deep frying the pooris.
      An inch ginger pc.
      1 tsp. cumin / jeera
      2 tsp. fennel seeds / saunf
      a pinch of heeng/asafoetida
      1 tsp. red chili powder
      1/2 tsp. garam masala
      1 tsp. coriander seeds 
      2 tbsp. ghee
      Salt per taste

Pooris   

      1 cup maida (I used wheat flour )
      warm water to knead dough
      a spoonful ghee
      Salt per taste


Preparation:

Daal stuffing

      Remove the water from the daal and grind with all the ingredients (except ghee) using minimum water.
      Heat oil in a heavy bottomed wok/pan.
      Add the daal mix and stir continuously.
      The daal mix usually has a tendency to stick to the pan, so stir continuously.
      When you are fatigued with the stirring, and the mix turns into brown color emanating a rich spicy aroma, you are ready with the mix.

Radha Ballabhi

    Knead the dough a little hard than you do for chapattis. This will ensure that daal mix will be intact in the pooris.
    Make small lemon sized balls and using your thumbs and fingers, make small disc.
    Place a spoonful of daal mix in the center of the disc and close the edges of the disc to make a ball again.
    Roll in to flat discs using some oil and a rolling pin.
    Make sure, that the daal mix does not come out or the pooris do not rupture.
    Heat sufficient oil in a deep frying pan or a kadhai.
    Deep fry these radha ballabhis, once one side turns brown, flip it and fry the other side.
    Drain them on paper towels to get rid of excess oil.
    Relish with any aloo subjee preparation and get yourself lost in the rich aroma.

Radha-Ballabhi1

Parting Notes:

I grinded the khada masala and powdered masala in the mix to make it effortless chewing for Mahi. You can grind the daal, ginger and coriander seeds and rest all can go into the roasting part.

I have not mentioned the time here as this is an elaborate preparation. So keep your calendar busy . Roughly, soaking takes 1 hr, preparing the mix takes 30 mins and deep frying the pooris take 20 mins. Phewww…worth devoting to Radha Ballabhis… Open-mouthed smile